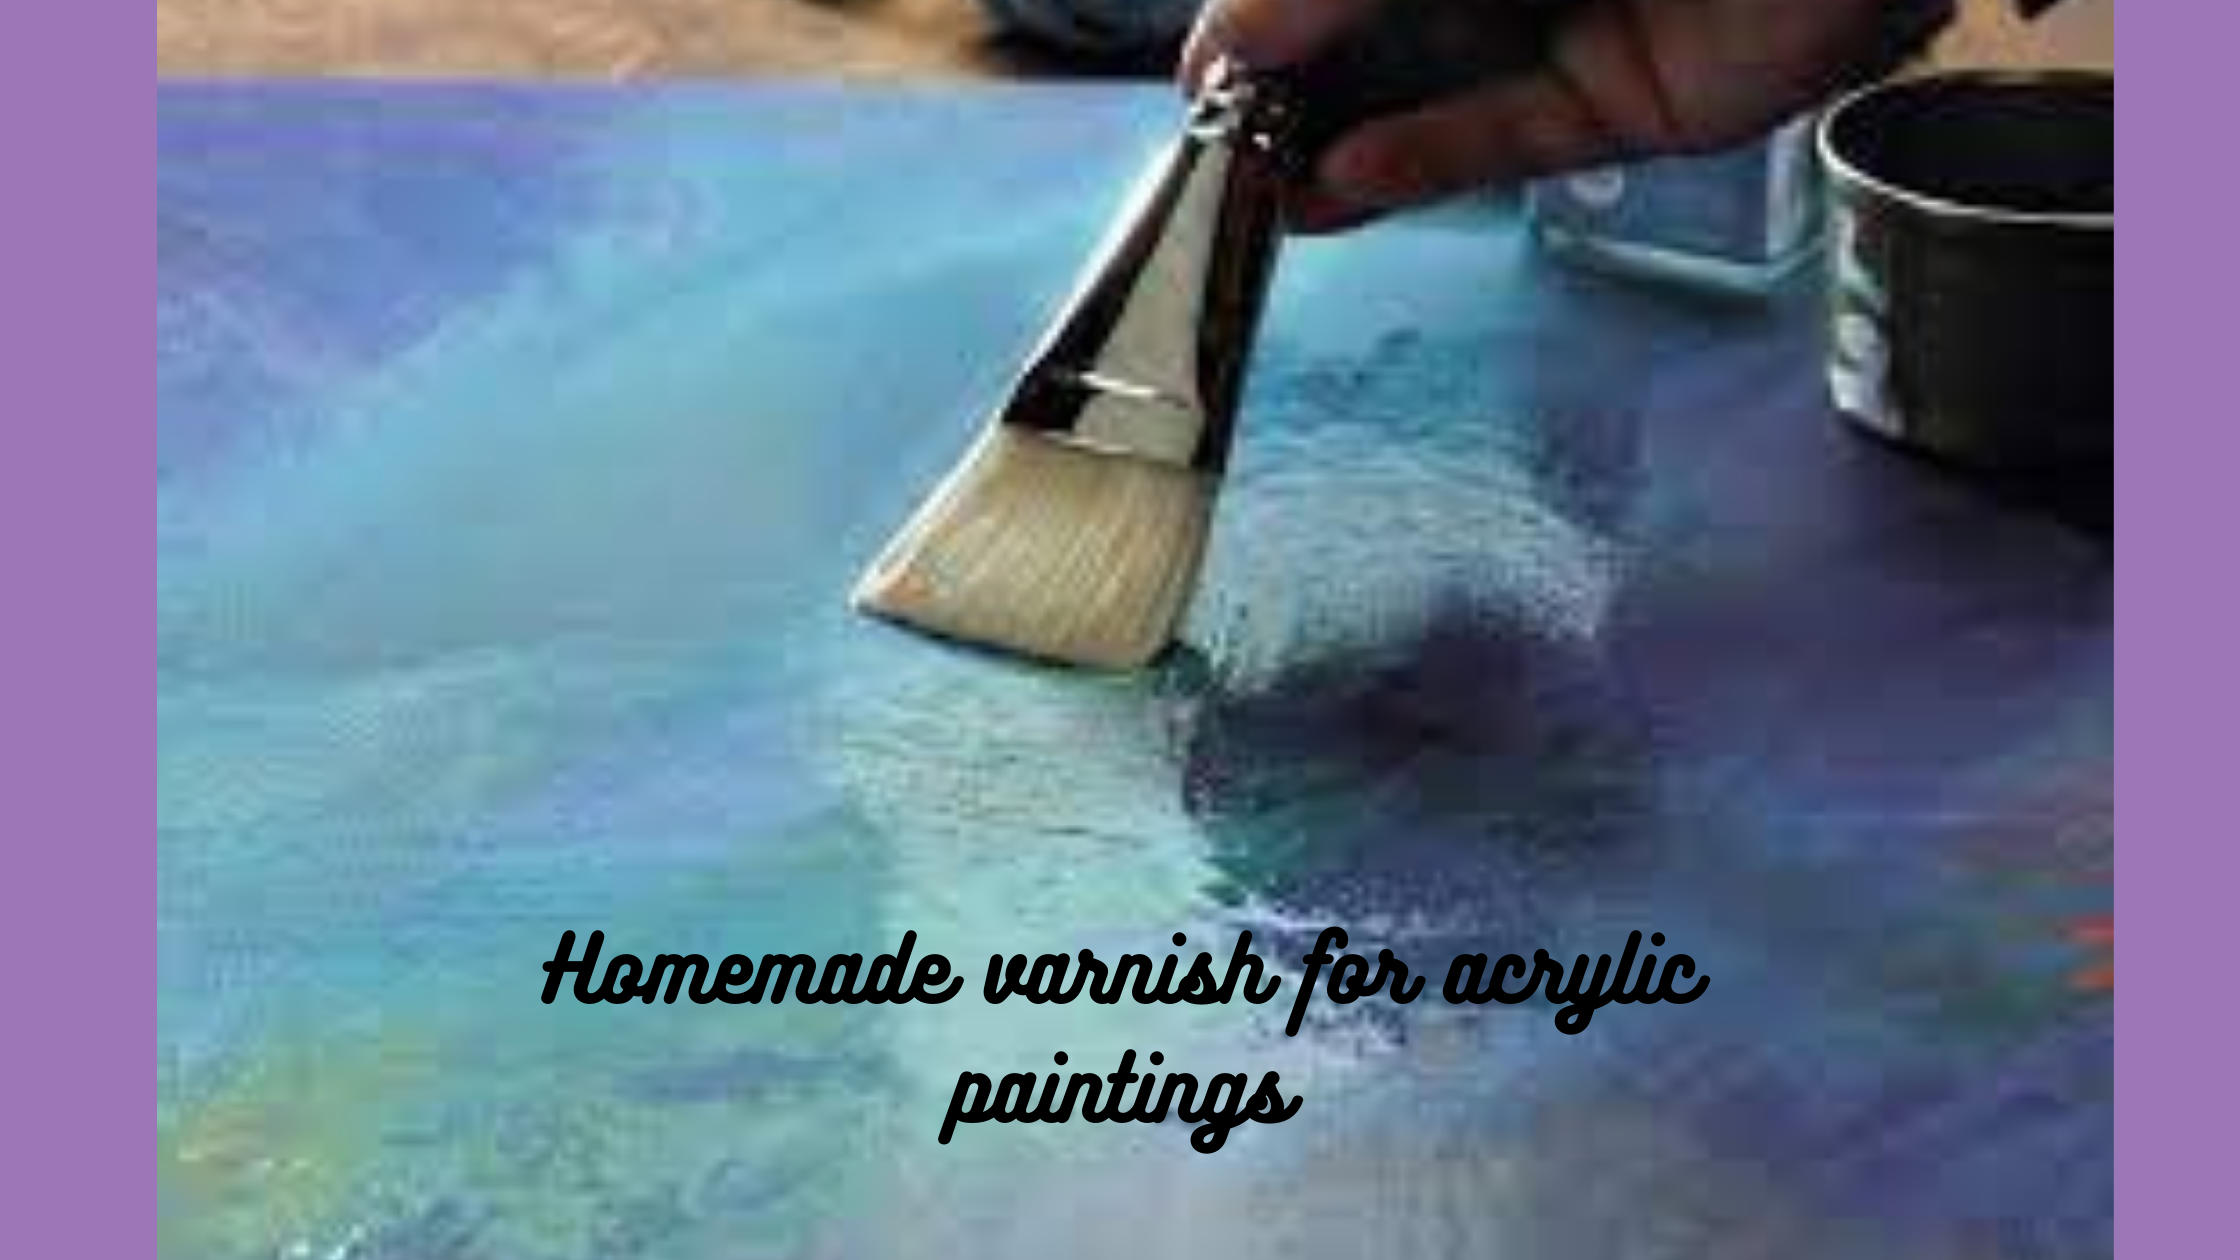
It is important to varnish your finished acrylic paintings. The varnish will guard the artwork from dust, UV radiation, and fading.
Furthermore, it provides a coating of luster that, almost magically, pulls the entire painting together and makes it appear even more spectacular, thus bringing out the gorgeous brightness of the colors.
Varnish is available in gloss, satin, and matte finishes. Gloss varnish is in common use because people enjoy the look of a glossy finish, although you may have a different choice.
You may blend any of these varnishes to achieve the desired finish, but it will require some experimentation.
One thing we’d like to mention immediately is that if you wish to photograph your painting, do it before it is varnished. If the light shines on the varnish, it will surely produce a glare, making photography difficult.
Varnishing an Acrylic Painting
First, ensure it dries when you are ready to varnish the artwork. If the varnish becomes even slightly wet, it will mix with the wet paint and run over the canvas.
Unless that is the desired result, you should avoid this. Also, make certain that the surface is clean of dust, grime, and other unwanted elements such as lint.
While varnishing, always set a separate glass jar or plastic cup aside for varnishing.
Do not use the same jar in which you dip your paintbrush when painting!
The reason for this is that there will surely be paint splatters on the interior, outside, or lip of the jar. These will adhere to your painting if they get into your varnish or onto your varnishing brush.
How To Make Varnish at Home
Using PVA glue and water, you can make a basic varnish appropriate for children’s craft projects.
Varnish isn’t something that you make at home generally, but the varnish you buy from the art store can be very expensive at times. So it is better for your pocket and your budget.
Steps

- Set up space. To preserve the work surface, cover it with newspaper or another covering.
- Use a two-third glue to one-third water ratio. The size of your creative creation will determine the required precise amount.
- Pour two-thirds of a cup of PVA glue into a mixing bowl.
- Pour in one-third of the water.
- Combine the two components well.
- Use on the craft object. The varnish is white when applied and transparent when dry. It will guard against damage to artwork, decoupage, sketches, and ornamental components connected to a craft project. Apply the PVA glue varnish using a big artist’s paintbrush.
- Your homemade varnish is ready.
How Varnish Protects and Improves Acrylic Paintings
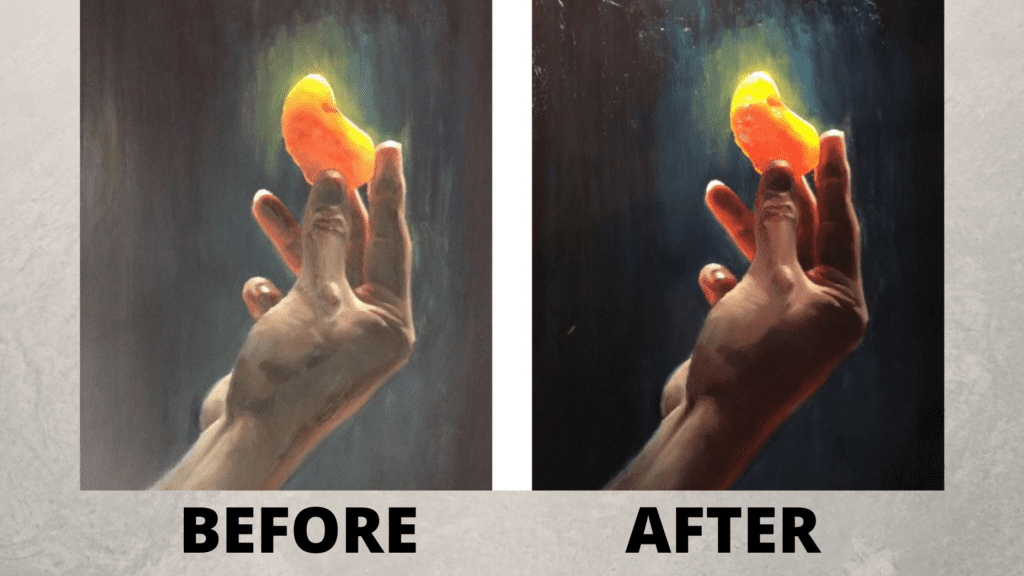
After drying, acrylics become extremely flat and impenetrable. Because of the employment of various paints, retarders, or other media that affect the look of the completed piece, there are sometimes uneven regions of shine and matte.
A varnish evens outshine and makes the colors more vibrant by making the painting surface more uniform.
Conversely, depending on the effects the artist was attempting to accomplish, some pieces may lose their character with a unified varnish. The final decision is up to the artist.
Another significant benefit of adding a final layer of varnish is that it seals the porous acrylic paint surface, preventing debris from adhering to it.
Does The Dry Acrylic Paint Have A Porous Surface?
Acrylic paints become sturdy and water-resistant after drying. However, as the paint dries, the water evaporates from it, leaving small pores that allow dirt and dust to accumulate over time.
Even if you wash down and dust your paintings regularly, some dirt is trapped on the paint surface and can discolor the artwork over time if you hang it without glass. A sealer protects the surface from dust and makes it simpler to clean.
Varnish also offers UV protection, preventing fading and yellowing of the paint.
Varnishing Tips
Here are some tips to keep in mind while varnishing your paintings.
1. Timing:
Allow a day or two for the acrylic paint to dry completely before applying the isolation layer (optional) and another day or two before varnishing.
It is recommended to wait a couple of weeks before you add the insulating layer or varnish if the acrylic paint is thick, such as impasto.
2. Temperature:
Ideally, the temperature should be between 65 and 75 degrees Fahrenheit, and the humidity should be between 50 and 75 percent.
Moisture can become trapped between the varnish and paint layers if there is too much humidity or the temperature is too low, thus resulting in whiteness or opacity.
3. Application:
You can apply acrylic varnishes by brushing or spraying. When applying, keep an eye out for foaming, uneven coverage, particle release from the applicator, and so on.
Allow them to dry flat in an area free of dust, leaves, or anything that might fall on the wet surface.
Advantages Of Varnishing Acrylic Paintings
- The varnish layer gives UV protection which helps to prevent the fading of the pigments.
- Varnish may readily clean the dirt and dust and are not trappable in the acrylic layer.
- An ammonia solution may remove many artist varnishes. If you need to clear a persistent stain or if the varnish layer yellows with time, you can remove it and reapply it.
- Varnishes are an excellent technique to level outshine and bring the entire painting together.
- A varnished artwork is more resistant to handling and shipping damage.
Final Thoughts
Making acrylic paint waterproof is a straightforward procedure, and although varnishing might be intimidating at first, I strongly advise you to practice on smaller paintings or those that did not turn out well.
This way, you’ll have more varnishing abilities and will be able to discover what works best for you.
You have nothing to worry about as long as you apply an even coat of varnish and allow it to dry between applications. Good Luck with your work!
Beatrix Ainsley (Bea to her friends) is an abstract artist who was heavily inspired in her twenties by the abstract expressionist movement of the 1940s. Since then Bea has acquired three degrees in Science, Education and most importantly Fine Art. Her art works showcase exploring emotion and introspection of self. To achieve this – the use of bold, sweeping, intricate layers of color, and spontaneity of form is enhanced by reflecting on decades of life experiences. Bea has amassed a vast knowledge of art in all its forms, and hopes to pass it on with her contributions here.